SellAnalytix Account Setup Tutorial
Written Instructions
Visit app.sellanalytix.com/register to begin the process. Please add your business details and create an account.
Press proceed and go to the Amazon connection page. Click the blue button on the left, and it will take you to the Amazon Connection Settings. Press SellerCentral login, and log into your Amazon account. After agreeing, it will bring you to that page, and you will click the advertising button and sign in & agree again.
Once you’ve connected your Amazon accounts, data takes up to 48 hours to flow in depending on the volume of transactions.
Proceed to bank accounts, and click add Bank Accounts and click “Linked Bank Accounts” to use Plaid to securely sign in.
Return to the origional page, and press proceed until it says complete onboarding.
Upon doing so you’re account will be setup, and you should return to the engagement letter checklist and prepare the other items for SellAnalytix to handle your bookkeeping.
Share SellerCentral Permissions
We like to double check our work, and may ask you to share access to your SellerCentral account. Please follow these steps to add ryan@sellanalytix.com as an authorized user to advertising & payment reports:
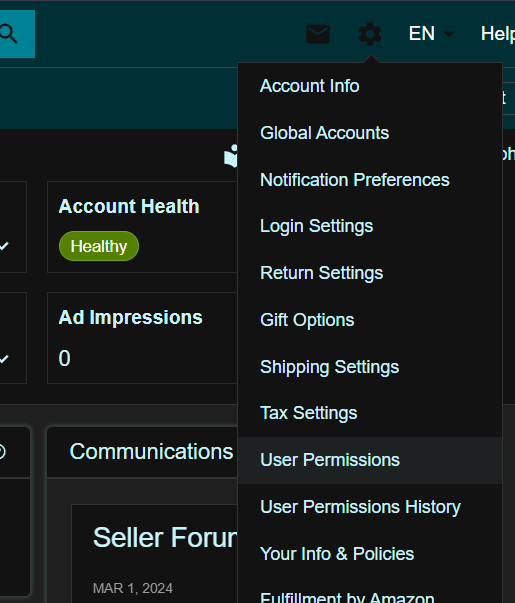
From SellerCentral homepage, click the gear icon in the top right, and press “User Permissions”
Then at the bottom under Add a New User, enter a name, and our email: ryan@sellanalytix.com.
We will receive an email, accept it, and then you must come back and add permissions. On this page, on our user, click Manage Permissions, and grant us access to:
- Campaign Manager
- Payment Reports
All other items can be on none. This is used to double check some Amazon reports.
Don’t hesitate to reach out with any questions!